To order it, click here.

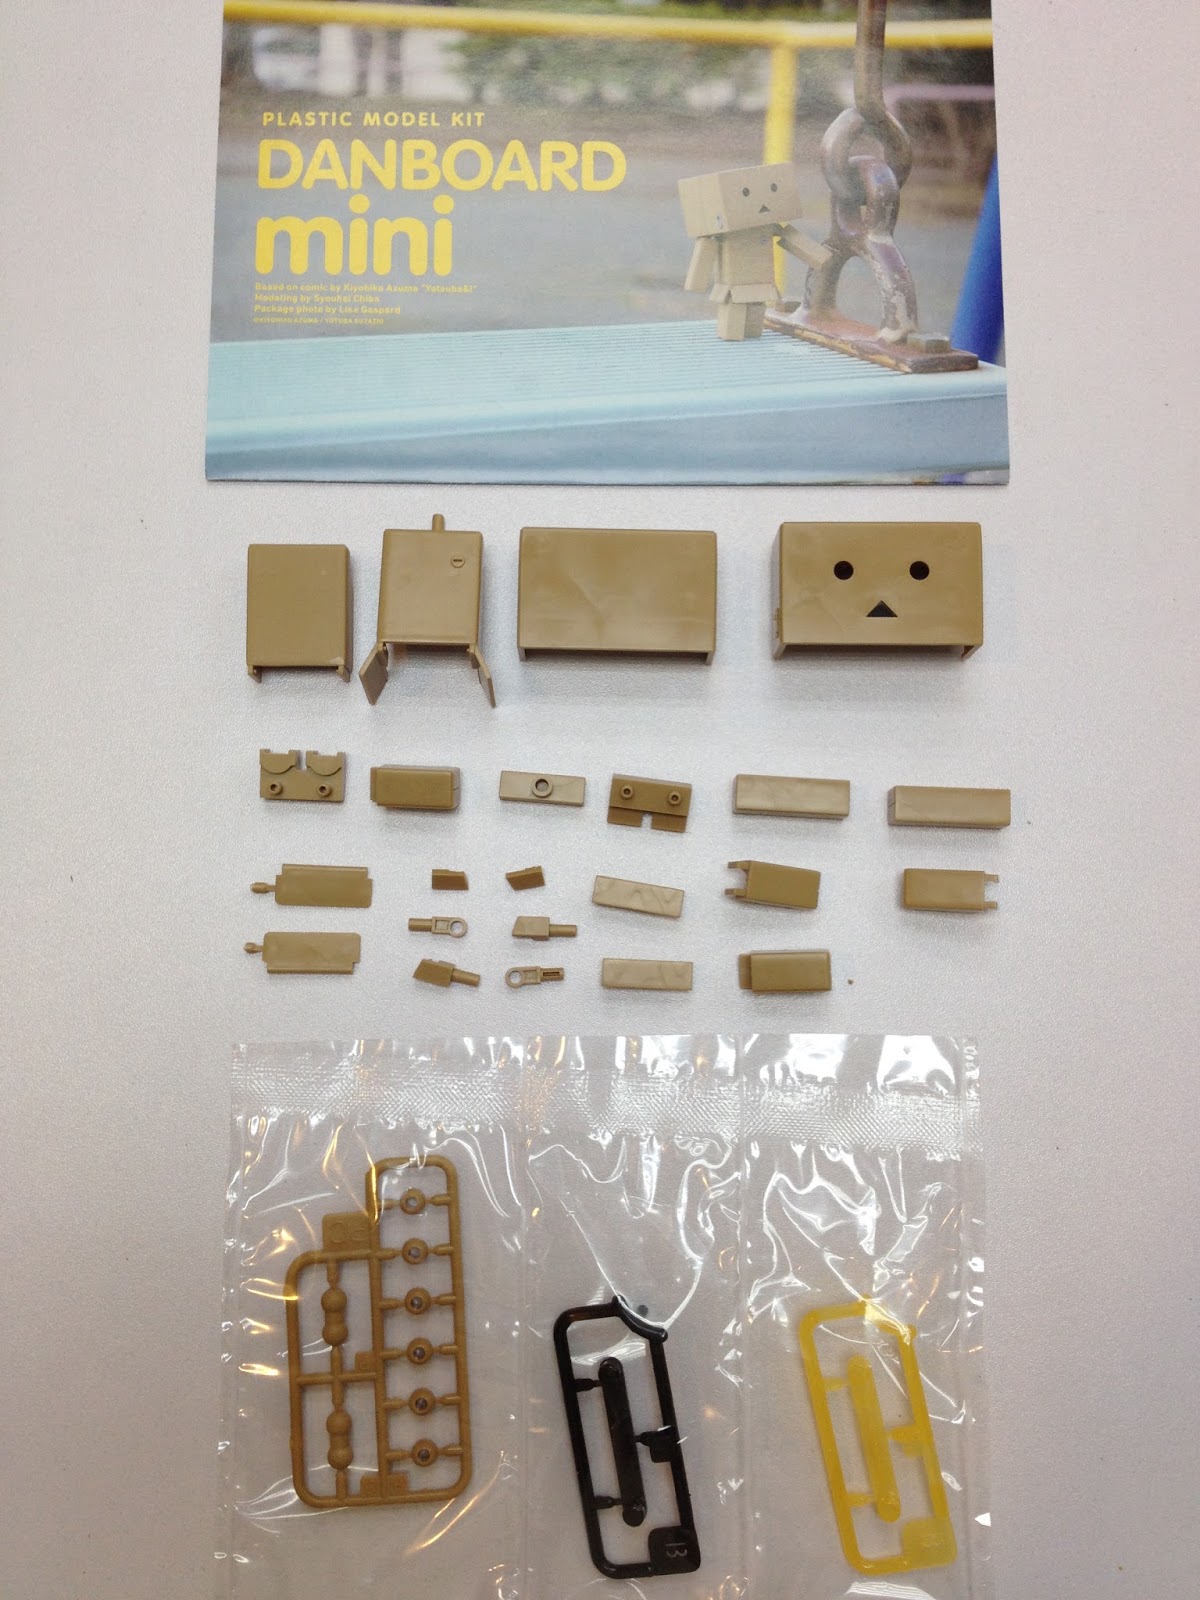
All the parts are cut, the next process will be sandpaper them.
On and off people asks me about how to remove nub from the parts. I am not an expert on this, but to share, this is how I do normally (you may have your own better method). The key is "patient" while doing this process. :)

Update 19/8/2015:
Sometimes, to get a flat surface, we can sandpaper the entire part (each visible surface) instead of applying Top Coat (Flat). The key is - patient :)

All parts finished sandpaper, ready to go to painting process. :)


